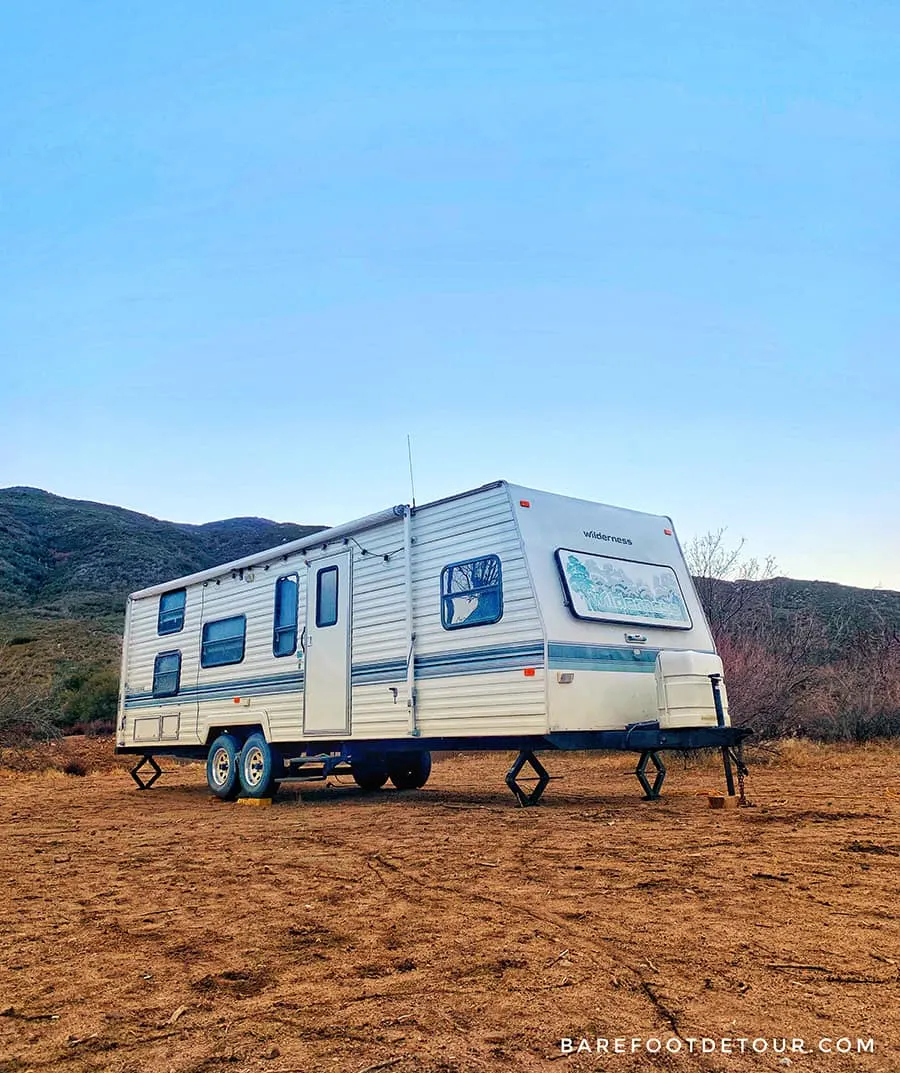
Check out the before pictures of our camper! In November 2018, we purchased this 1991 fleet wood “Wilderness” (29 feet, two axel travel trailer). Want to see the after? Check this post with the whole remodel process.
While we really wanted to get an RV, we were not actively looking. So when a family friend told us about this beauty, we knew that we had to jump at the chance. While other kinds of RVs were tempting to try, this was too much of a good deal to pass it.

We purchased it from a family friend, and after deciding we would get it during dinner, we sketched out a plan, set up a budget and shopping list for Ikea and Home Depot. And went to bed with butterflies in our bellies (at least I did!)
We started our next day (Ken’s day off) with a mini trip down the mountain to get everything we needed to get started with the paint and demo and picked it up on our way home. I also purchased the first things for it on Amazon (here is the list of most things I bought) on our way up the mountain, I am so thankful for Prime! Because I received the hardware for the cabinets and lamps so fast! (this pack, this one, and a bunch of these)
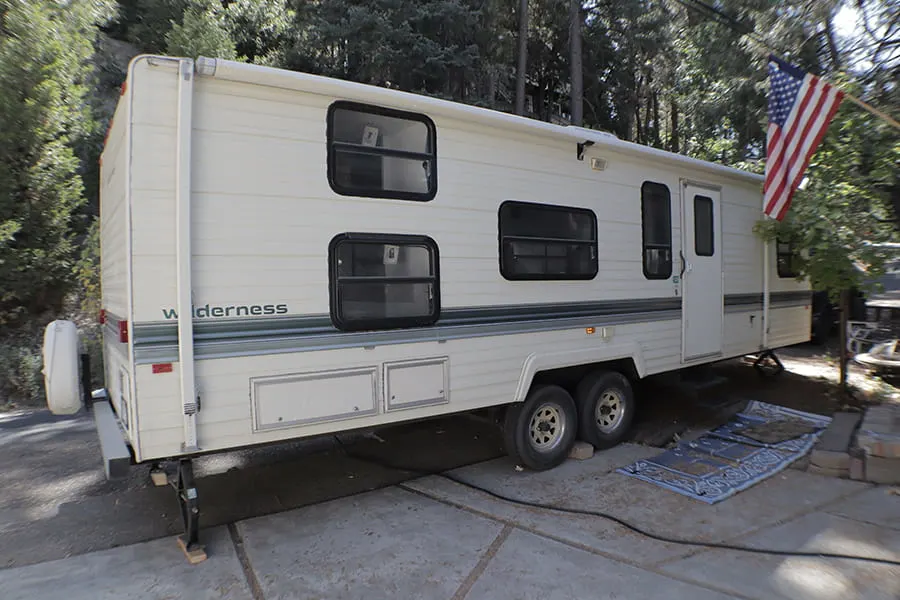
We kept it in front of our house so we could work on it whenever we had some time off, and after a month, we moved it down to “the ranch” a family-owned property in the high-desert where Ken’s grandma lives, now we go there to camp and work on it whenever we have free time.
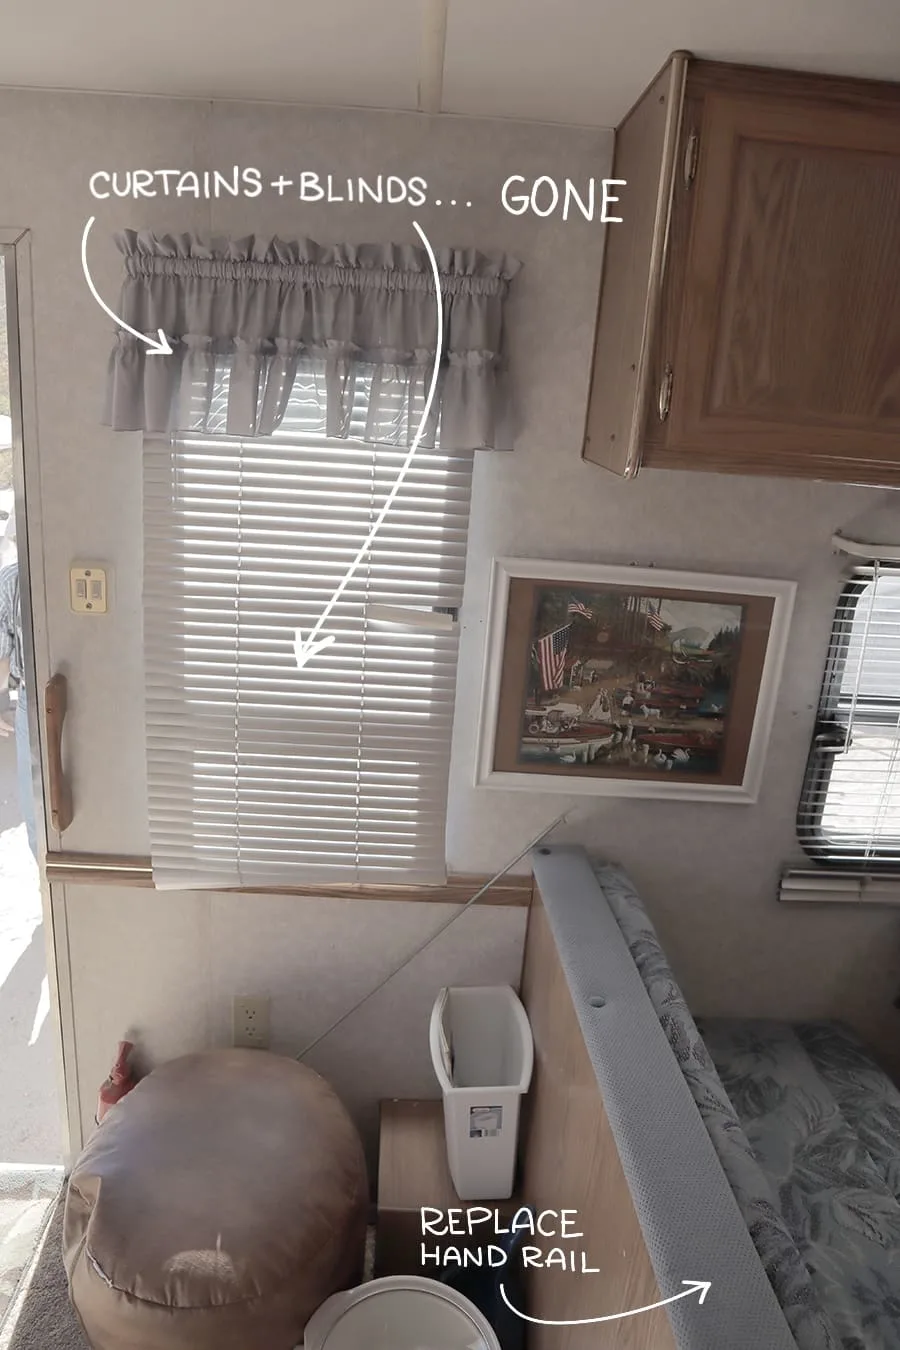
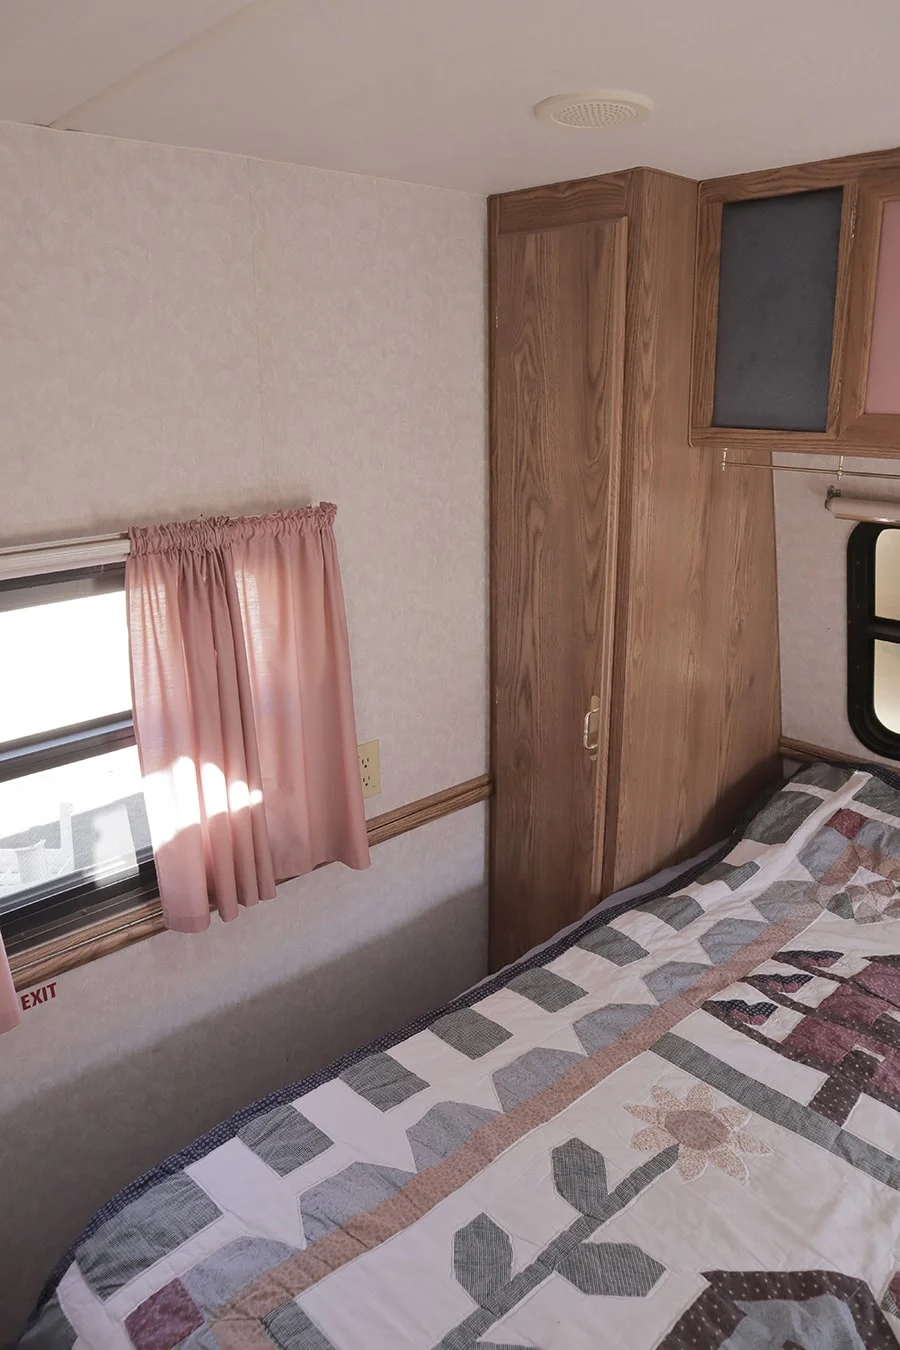
I wanted to share some pictures with you guys about how the place looked when we go it; overall it was in excellent condition and other than a little water damage in one of the bed bunks, everything was working beautifully.
We took this pictures on the way to Ikea before we picked it up to take it home, I also recorded a couple of videos that I’m sharing in our IG Stories, so check them out!
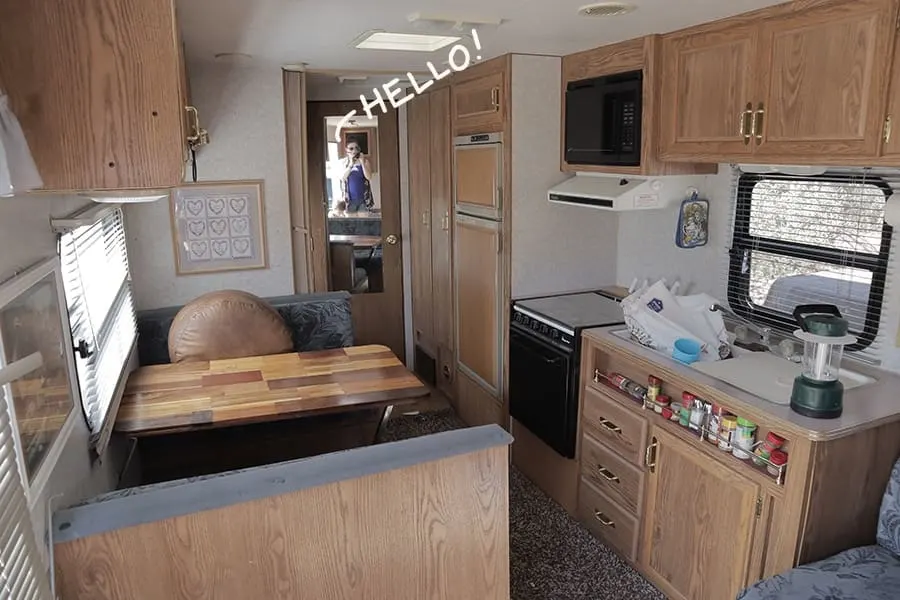
I was not 100% sure on the colors I wanted; I knew I wanted a dark color for the bottom of the cabinets because I had seen a laundry room with dark bottoms that looked awesome and it was on my “wish” list for the last three years!
So when we went to Home Depot, after a long back and forth, we decided on using BEHR Night club for everything that was dark and BEHR Silent White for everything light. We also picked up a Grey flooring that we both just loved!
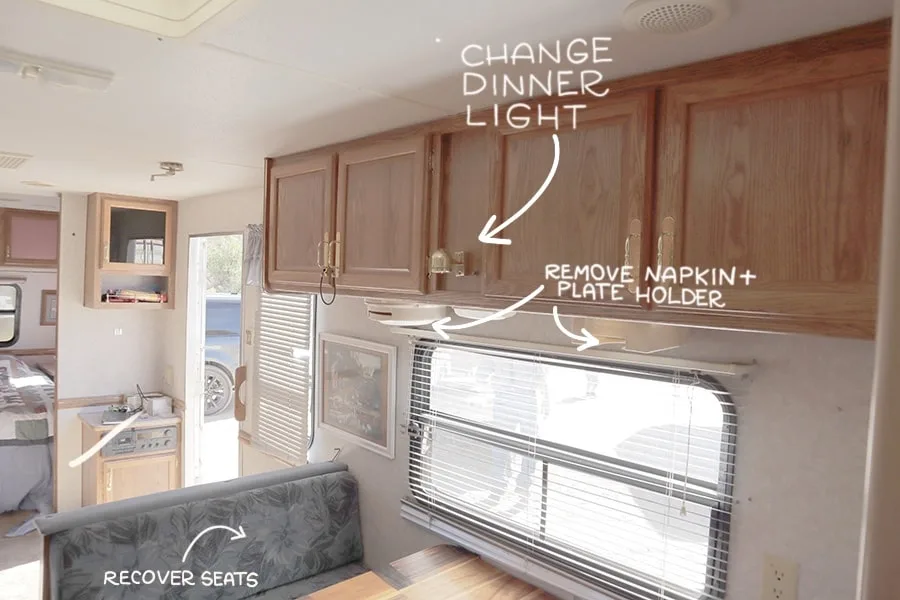
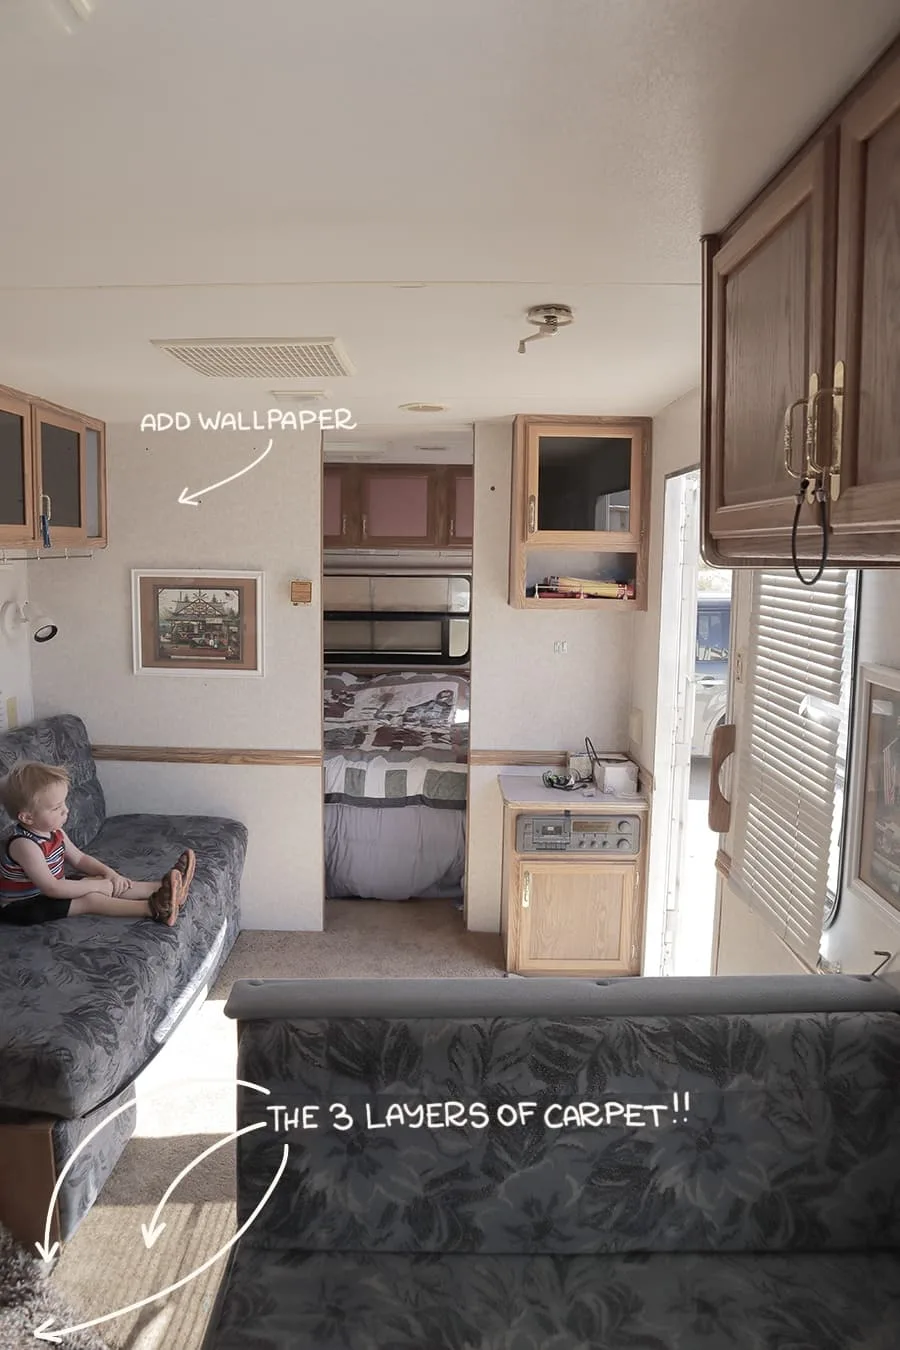
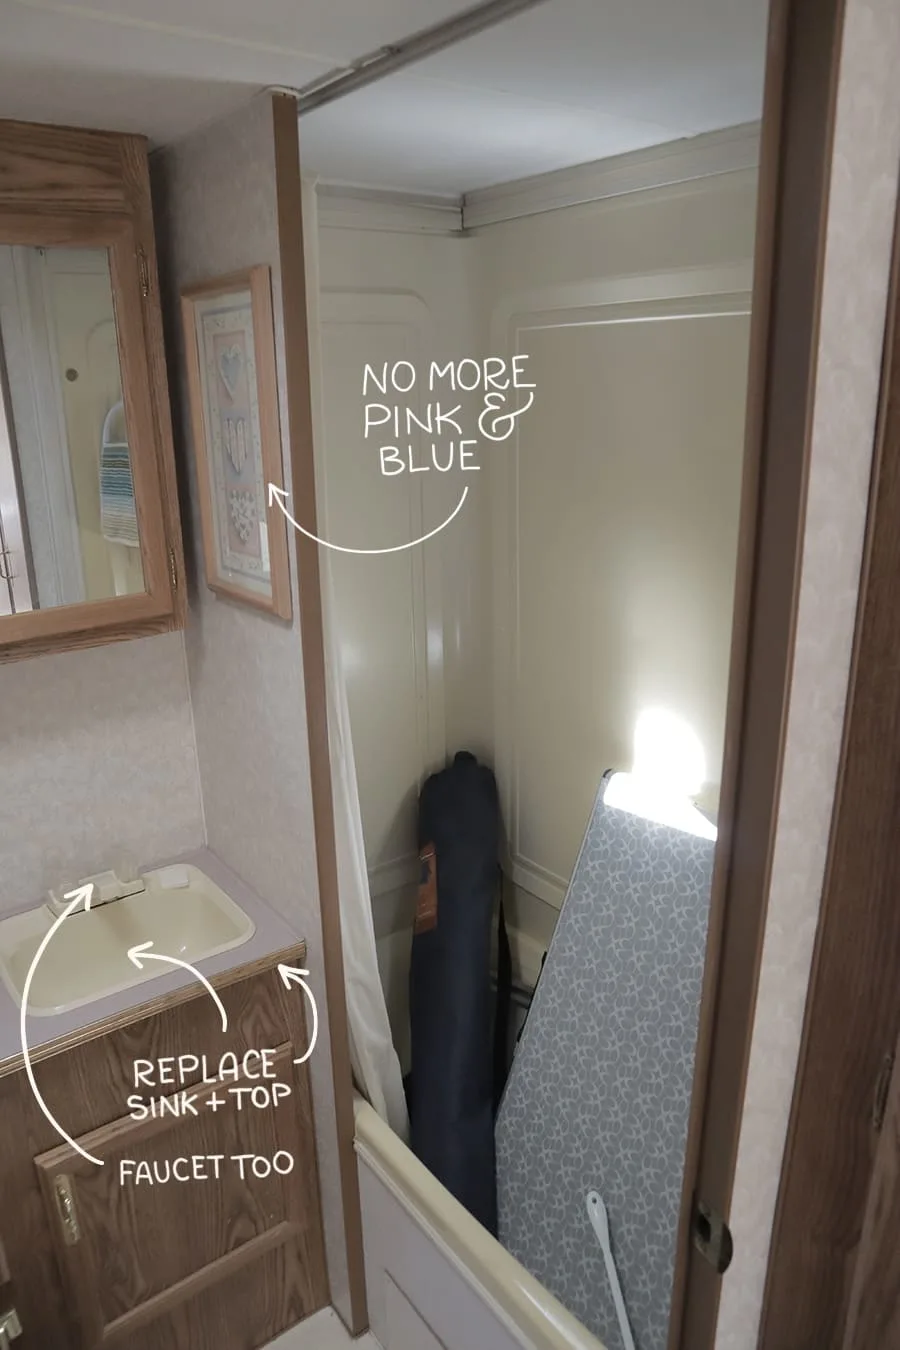
Below you will see that I wrote down some ideas we had at the beginning, we only had to change a few things that didn’t quite worked as we wanted, but overall I am so happy with how the camper remodel is turning =]
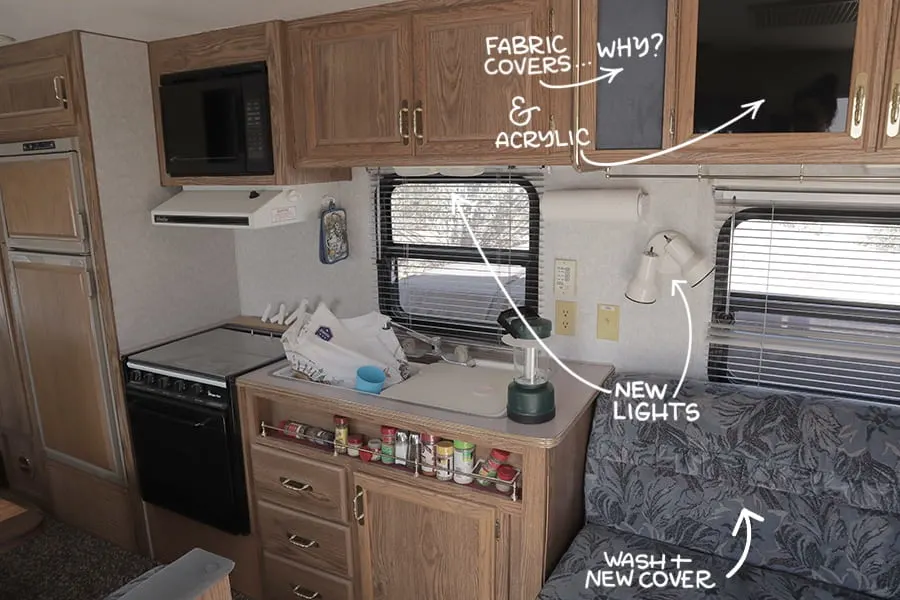
One of the craziest parts was to find that the top cabinets had fabric and acrylic covers, so we had to fully replace a bunch of backs.
The couch and dinner chairs were in very good condition, so after taking the covers off, washing them and washing all the seats with a carpet cleaner, I decided to make new covers instead of re-upholstering them.
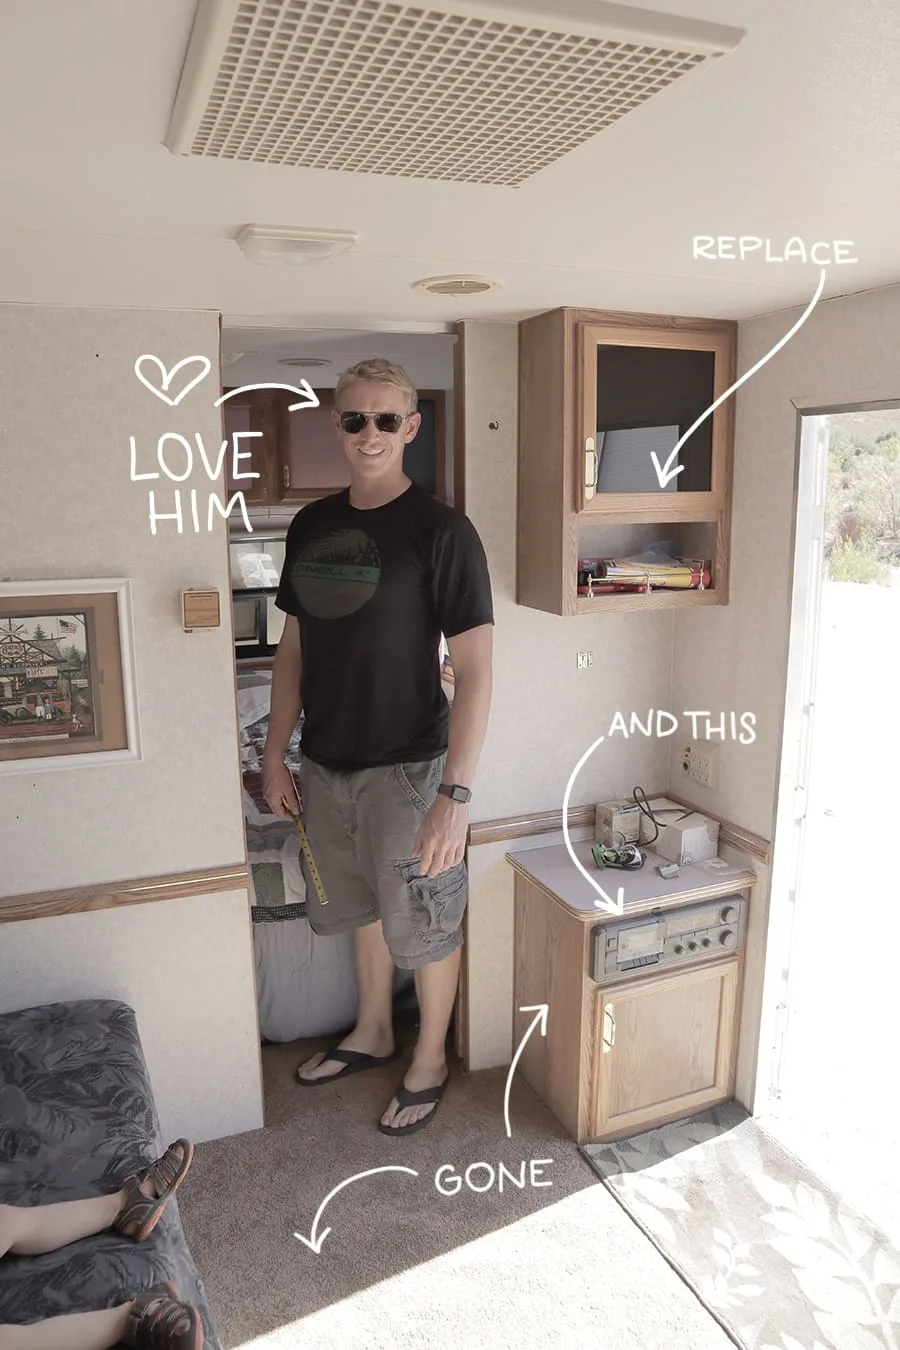
We took everything off from the corner right by the door because of the stereo table, while we think it was working it was nothing compared to just having a good speaker, and since we had a pear one, we just planned to leave it at the trailer.
I was also not a fan of the upper cabinet there and wanted something a little more modern and industrial. So we headed to Ikea in search of a replacement for the bottom. I was hoping we could find something in white where we could put our shoes and double as a place that we can use as a charge station.
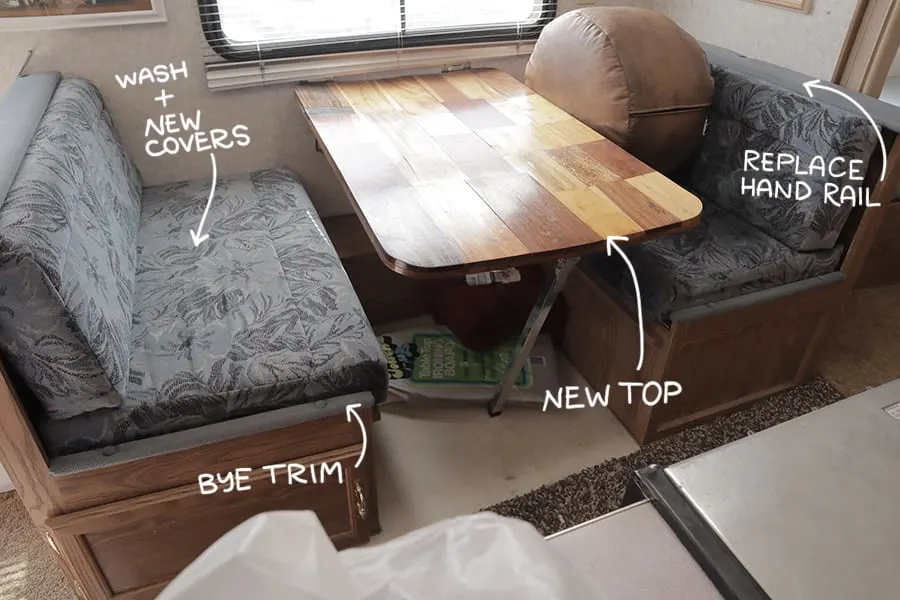
The table had a pretty cool contruction, but it was so bowed, and it seemed like it wanst sealed correctly, so we decided that we would just go with an entirely new table top.
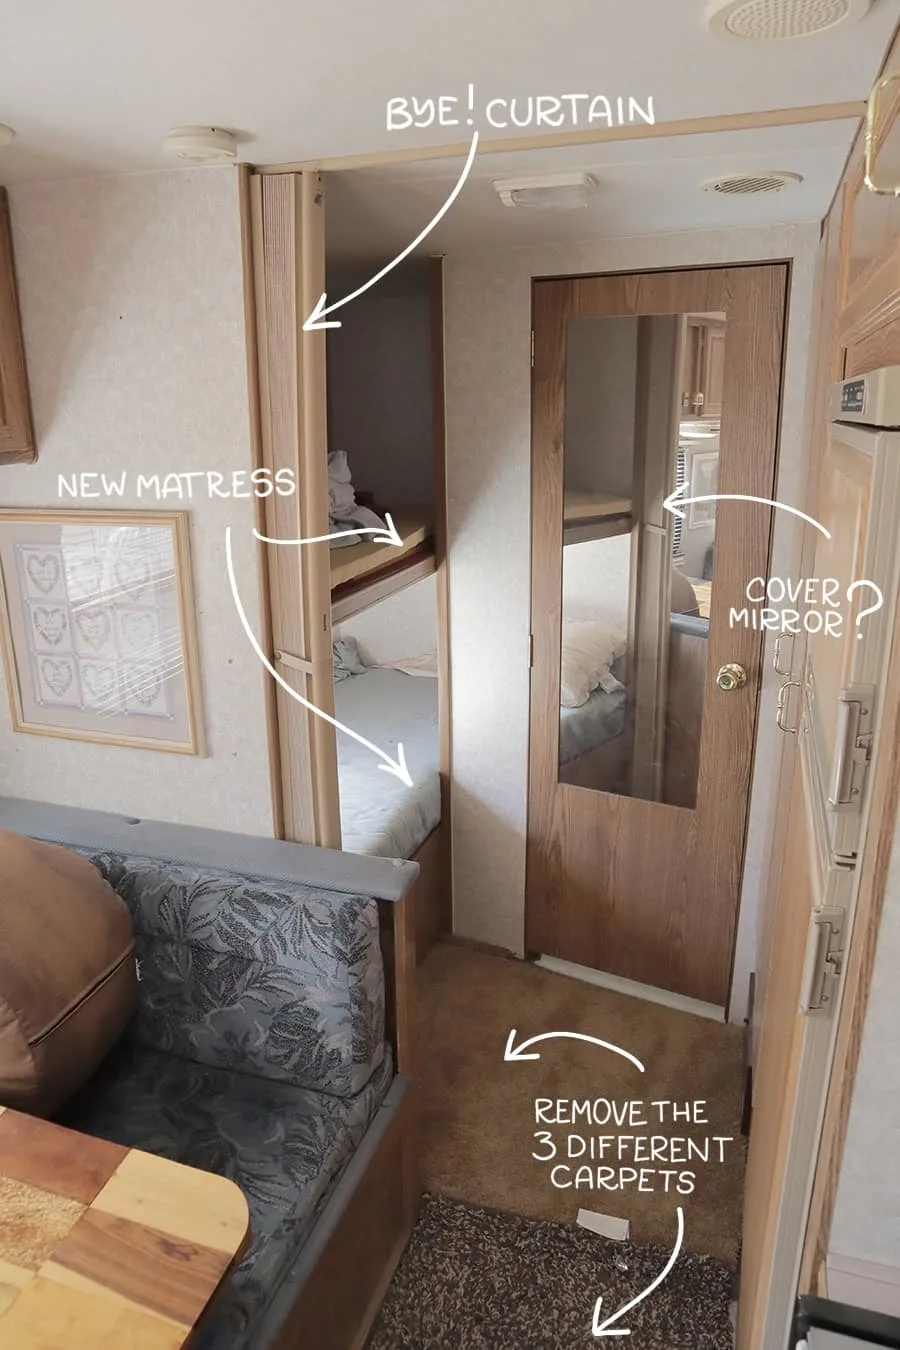
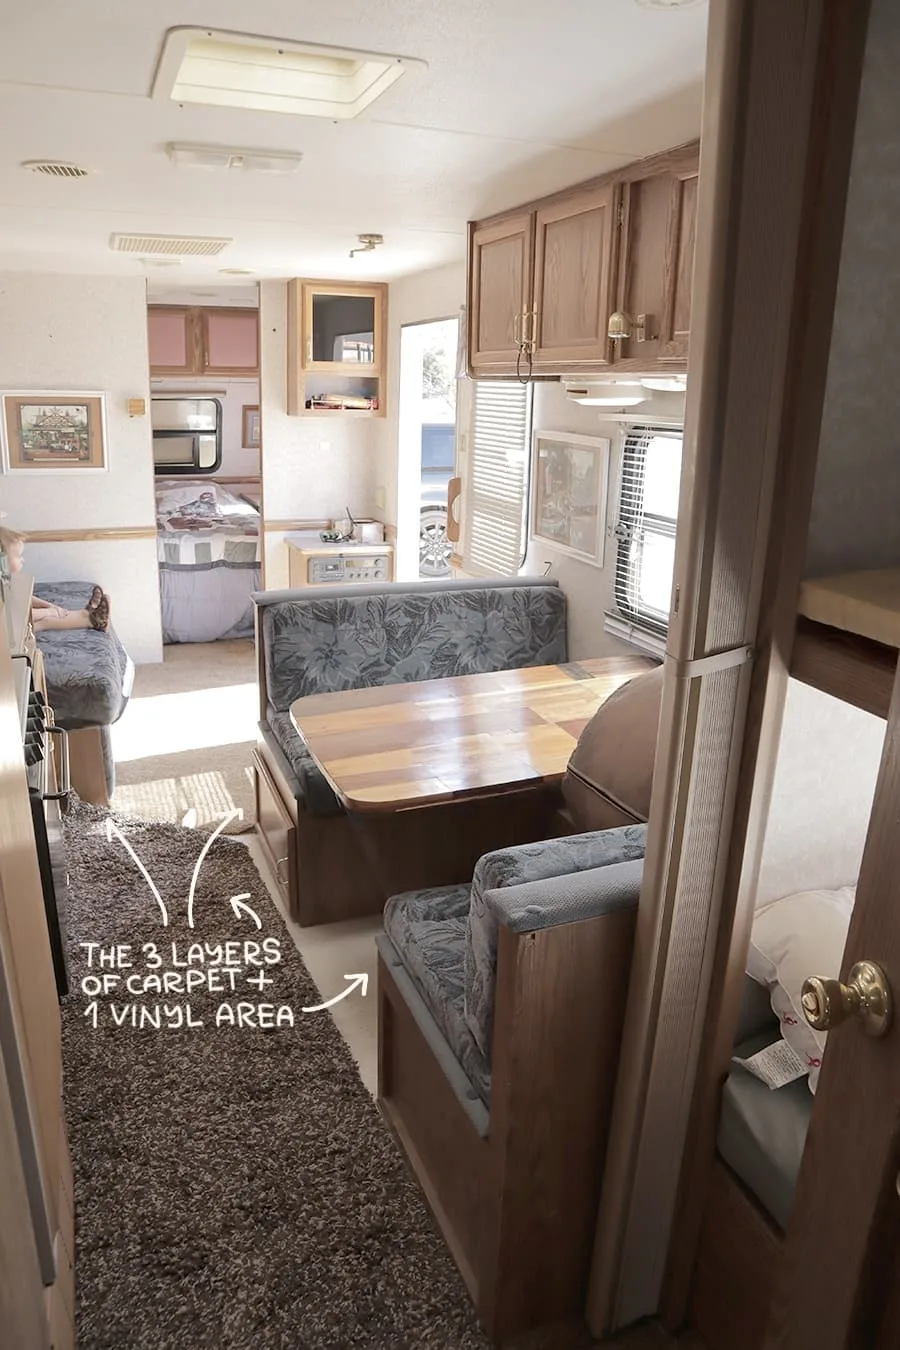
When Ken started removing the carpet, we notice that some areas had three different layers of carpets on top of each other, and only the kitchen and bathroom had vinyl flooring.
With three layers of carpets, you can guess that we started pilling so much trash!!
I was also not sure about the bathroom door mirror, at the beginning I wanted a big chalkboard door instead, so we thought about buying the prefabricated chalkboard from Home deport and cover it with two sheets, but I was not a fan of having a seam.
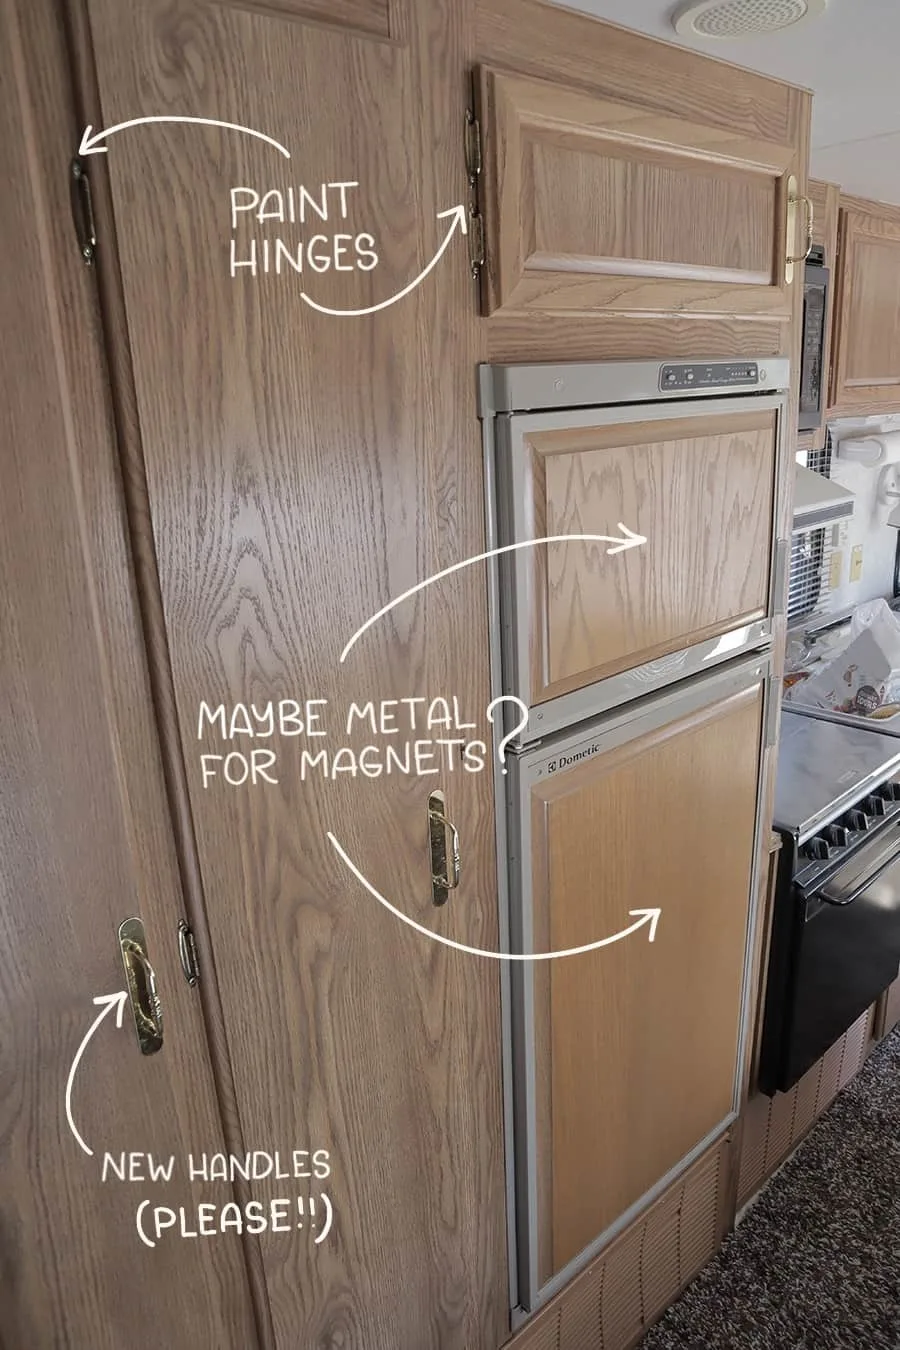
One project I was excited about was to use metal to replace the refrigerator doors; I figured that we removed enough weight so something like that could be made, I wanted to use it as a dry eraser and also to attach things with magnets.
The biggest shocker was that the front of our top cabinets were actually mirrors, that had been covered with fabric using a glue gun, it was so crazy to try and take that apart! Ken almost got hurt trying to take one that broke while we were putting them out of the camper.
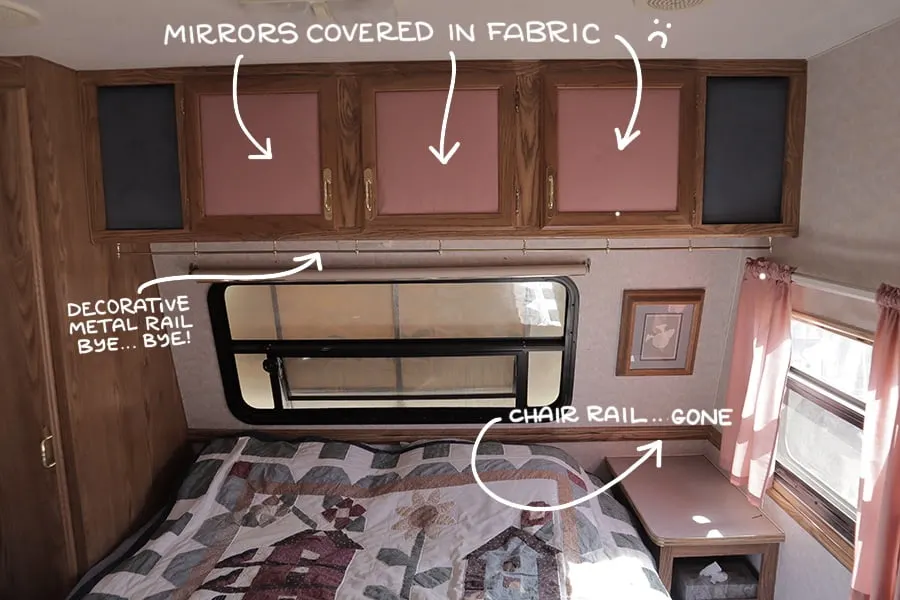
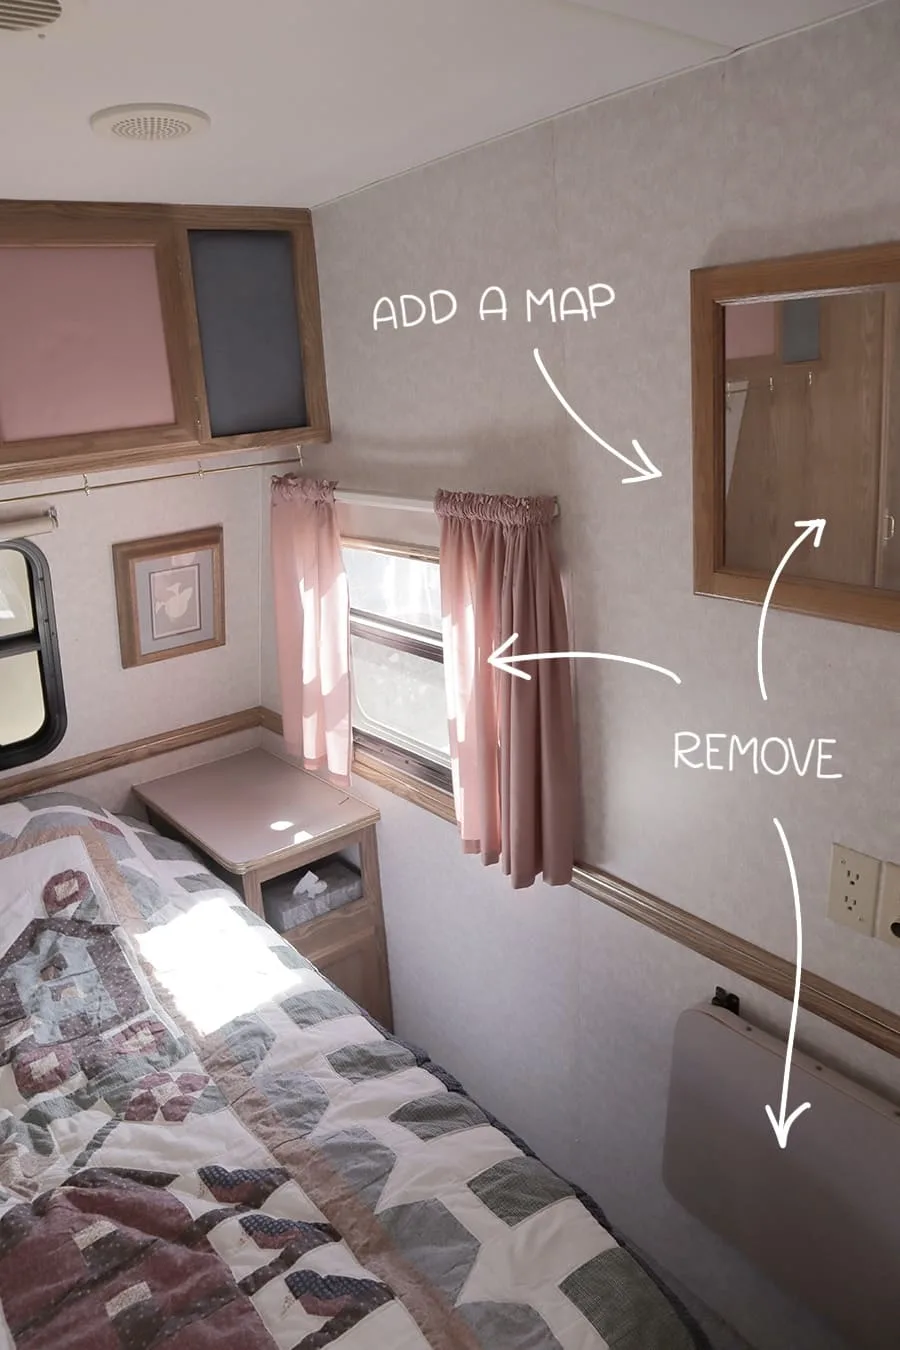
Another project I wanted to make is a big USA map that looks like chalk, so we can write down the places we visit. And the sidewall of our bedroom was perfect for that!
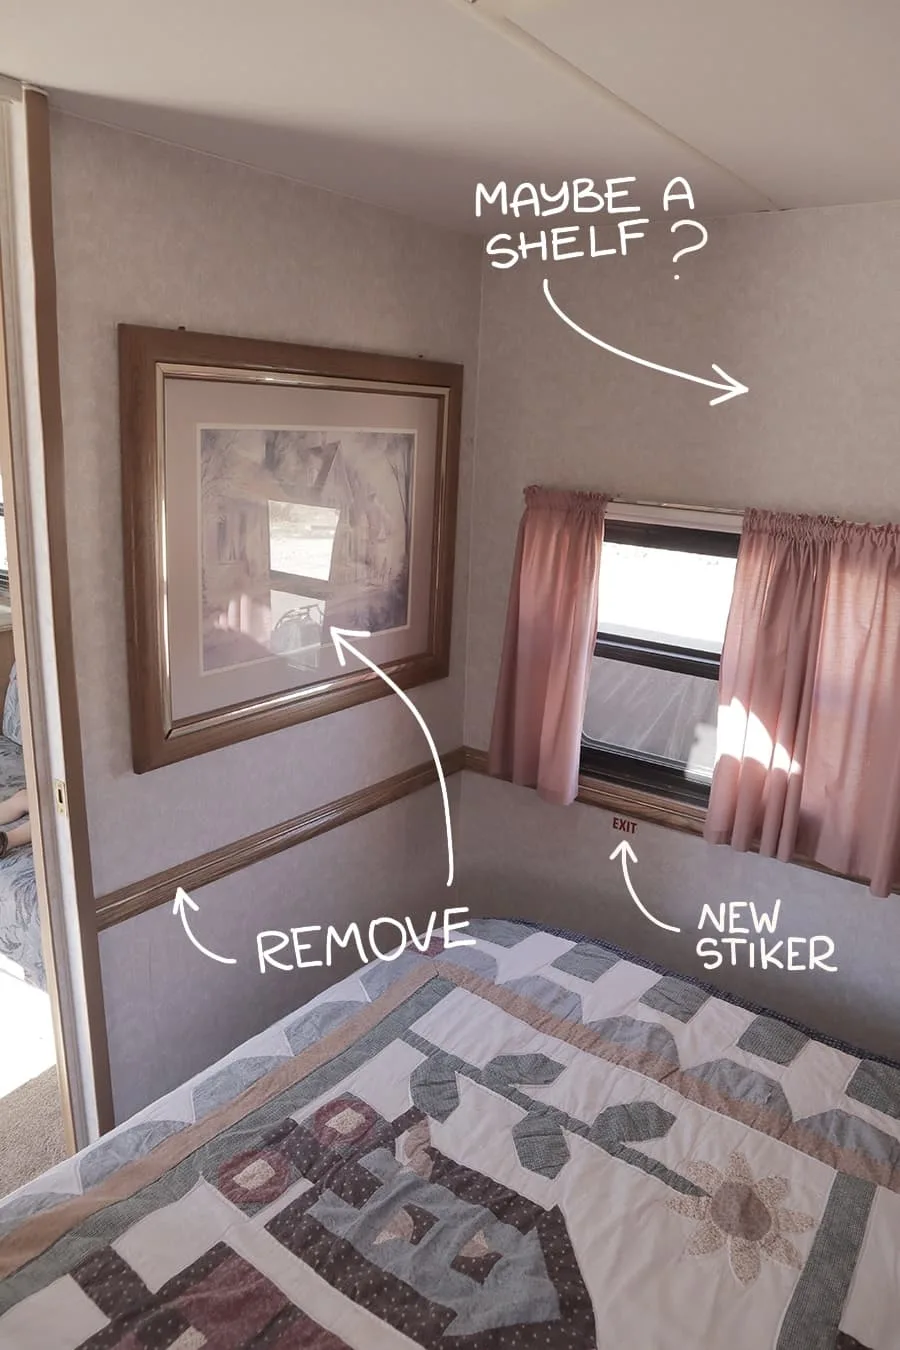
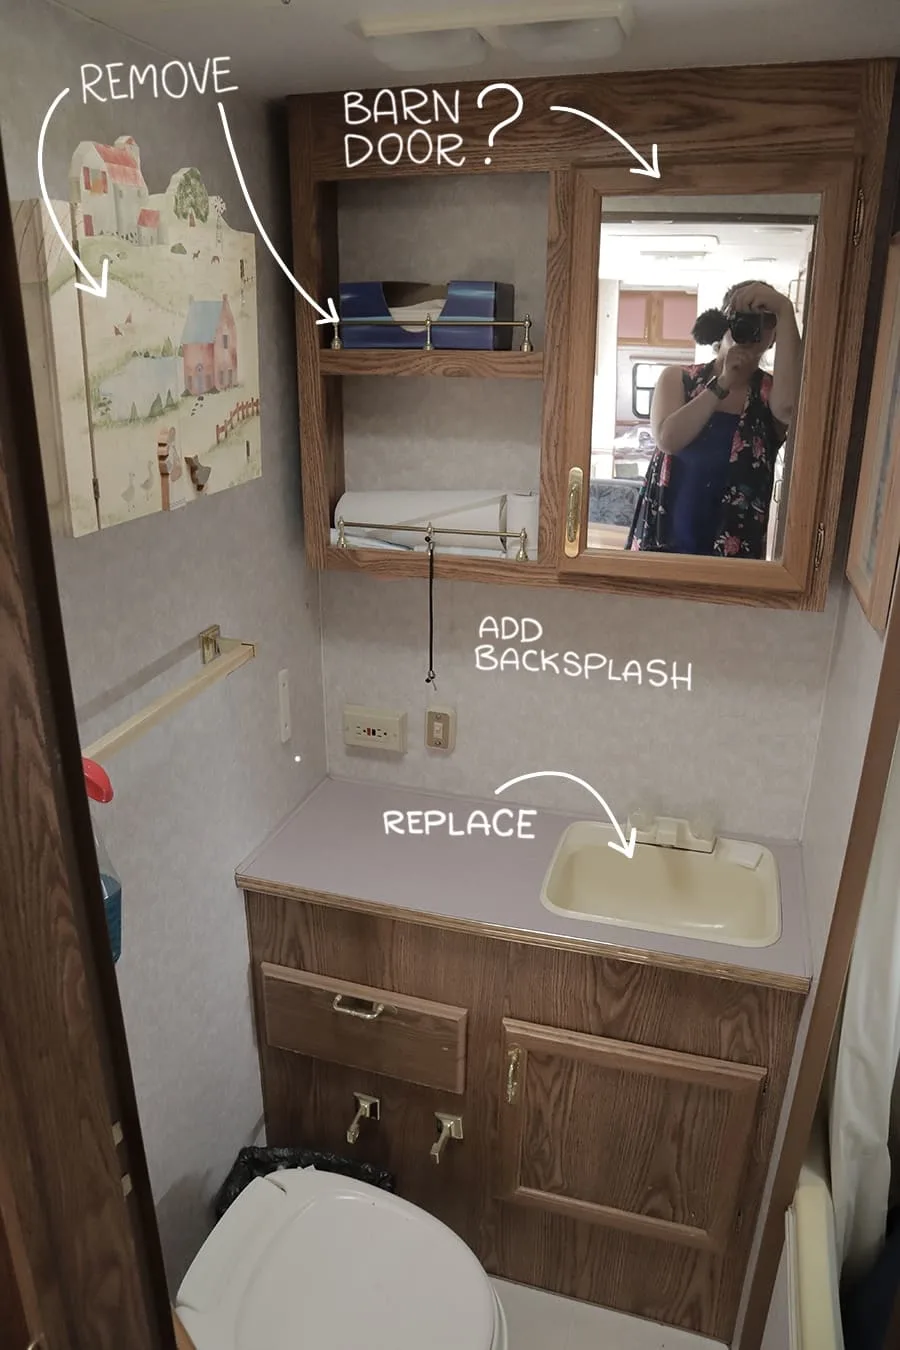
We were lucky that the toilet had just been replaced when we bought the trailer, so we didn’t have to worry about that, the shower was in a somewhat good condition, so we are going to just refinish it. And we decided to replace the counter, sink, and faucet.
I had the cutest combination selected, but since we had to work with the tiny area we already have because of the configuration of the toilet, we went with a regular RV sink and faucet, I was hoping to buy something small and cute, but everything I found was too big 🙁
We made so many mistakes and learned really quick that even though we had experience with house renovations, working on remodeling an RV sets a full new particular set of challenges.
But I will write a whole post about all of those little things we wish we had known before we started as well as the stuff we applied that made the process so much easier!
So stay tuned and come back for the reveal!

